Flutter enables the rapid development of apps primarily targeting the Google Play store and the Apple App Store. Competition on these stores is fierce, and you need every bit of edge that you can have against your competitors.
One edge that your app can have, is translation to multiple languages.
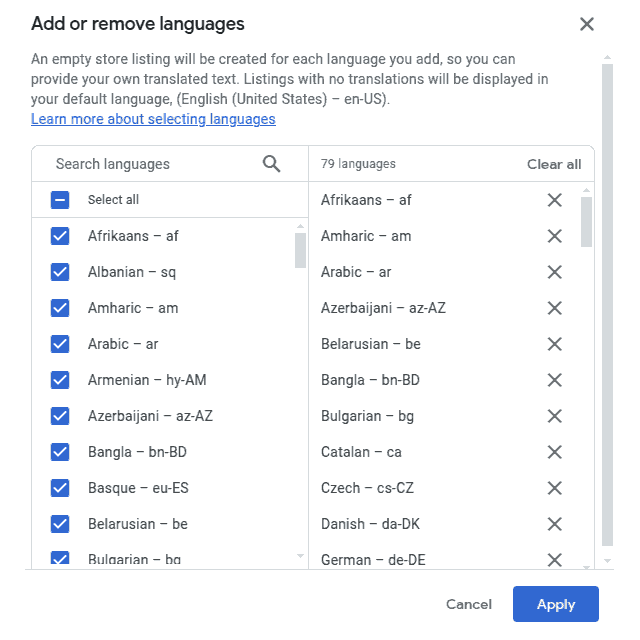
You can potentially provide string translations for over 70 languages, but most app developers only choose to provide translations for a few of the most popular languages. The Play Console for example offers machine translation for 12 languages.
You can do better. You don’t need to miss out on the long tail of people speaking languages other than Spanish, French, German, etc. There is actually very little cost to provide localisations for more languages, provided you do it right.
Localizing an app involves two things: Localizing the strings in the app, and localizing the app store presence.
Localizing the app strings
App internationalization/localization in flutter is explained in this very thorough, authoritative guide:
https://docs.flutter.dev/ui/accessibility-and-internationalization/internationalization
After following the guide, you likely have your English strings in the JSON file lib/l10n/app_en.arb.
At this point, unless you have access to a professional translation service powered by humans, you are likely thinking of translating these .arb files using Google translate or some other automated translation tool. I am here to tell you that this is not ideal.
Automated translation tools often produce poor translations because each natural language has its nuisances. Something that can only have one word in the English language can correspond to multiple different words in another language, depending on the context. Automated translations often fail and produce awkward or clumsy output because they lack this valuable context. Using this context requires knowledge about the world, and for that you need AI.
Enter LLMs. It is my firm belief that it’s better to use an LLM to translate app strings. The reason is that LLMs know about context, and you as a developer can provide more context about your app. If the LLM knows that it’s translating strings for an app, and it knows what the app is, it will provide translations of better quality than typical machine translations.
Here is the complete code I use to translate the app strings and to generate screenshots:
https://gist.github.com/alex-georgiou/48430da5b31501de6f8e58796b6183fe
Translating .arbs using a script that calls Gemini
What I do is place the following two files in the root of my flutter project: make_arb_files.sh and make_arb_files.csv.
Then I make the shell script executable with:
chmod +x make_arb_files.shThen I enter my Gemini API key into a file named gemini_key.
Having done this, I proceed to edit the prompt template in the shell script. I provide some context about the app, i.e. what it is and what it does.
My advice is to be somewhat verbose here, as this is the valuable context that is going to make the difference in translation quality, with respect to a plain-old auto translation.
Then I run the script and it reads the app_en.arb file, and it generates any missing .arb files. If I need to regenerate a file, I delete it and then I run the script again.
It’s free!
You can run this script a few times per day without incurring any costs. Google gives you about 1000 free queries per day, and each of the 70 languages or so is one query.
Localizing the app store presence
The approach that I’m using is to keep the icon of the app static across all languages, and to translate the following:
- App title
- App description
- Store banner
- Screenshots
I do not bother with translating the release notes / changelog, since no-one ever reads these!
App title and description
I run another script once to translate the app title and description to all the languages, then enter the texts into the Play store. Unfortunately this has to be done manually.
Store banner
For the banner, I use an image that features some text, and this is again translated using a script, but here there is a complication: The text font usually needs to be adjusted to fit the banner size. Using trial and error, you can figure out the correct font size for each language. Once I have a translated set of PNG banners, I upload these to the app store as well.
I won’t provide code for this here, because YMMV. But you can create SVG files based on a template and using the translated titles/descriptions, then convert the SVG files to PNG using ImageMagick.
Screenshots
For the screenshots, the process is somewhat harder. To automate taking screenshots for multiple languages, and for multiple device types (Mobile, 7″ tablets and 10″ tablets), you need to create a test driver as follows:
First, copy the file integration_test.dart into the test_driver directory. This tells your test script how to take a PNG screenshot. The screenshot will be saved to the path specified in the code, and you may want to change this.
Then, copy the screenshots_test.dart file into the test directory. Here you must use the driver to load the app and interact with it so as to arrive at a screen that you want to save. Each test is a separate run of the app from scratch, and should finish with writing a screenshot. You can only take one screenshot per test.
Finally, copy the make_screenshots.sh shell file into your project’s root, and make it executable with chmod +x. This script loops over all languages and runs the screenshots_test.dart tests in the currently running AVD, thus effectively creating the screenshots. The tests load the app with debugShowCheckedModeBanner: false, because you don’t want a red “Debug” ribbon on the top right part of the screenshot.
Generating screenshots for multiple device types
Now start your AVD (e.g. Pixel 7 for mobile phone screenshots), and run the script. The script will take ages to complete, but should not require any more intervention on your part. It will go ahead and create all screenshots for Pixel 7!
Once finished, stop the AVD and start a Nexus 7 AVD. Repeat the process to generate screenshots for 7″ tablets. Then, do the same for 10″ tablets (Nexus 10).
Importantly, optimize the PNG files to reduce their size. I use trimage, but any PNG optimizer will do. This step is important, because as you are uploading the screenshots into Google Play, the UI of the Play console will get progressively slower and slower, since it holds all the images in memory for all devices and all languages! Having smaller files and more system memory helps a lot here.
Conclusion
None of this is easy, and it requires some patience, but hopefully with the code I provide here, it is somewhat easier.
I believe the extra effort is worth it: Do not underestimate the power of having many, high-quality translations to your app. Non-English speakers will appreciate your app a lot when they see their obscure native language in the store. The translated store presence (title, description, banner, screenshots) is what will make them decide to use your app over someone else’s.